Homemade Peppermint Bark Candies Recipe
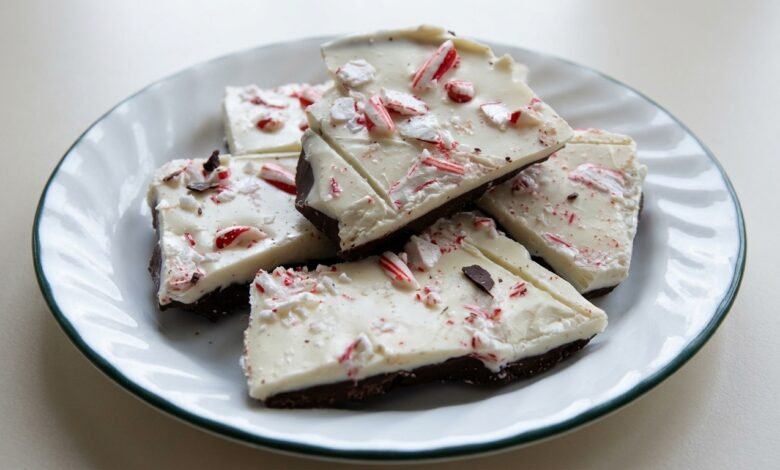
Peppermint bark is one of those holiday treats that looks impressive but comes together with very little effort. A dark chocolate base, a creamy white chocolate layer, and a scattering of crunchy peppermint candies make each piece taste bright and festive.
This recipe uses just five simple ingredients and a 9×9-inch pan. You melt, layer, and let it set — no special candy-making equipment required. It is a handy recipe to have on hand for parties, cookie trays, or last-minute gifts.
What You Need
Here is a quick look at the key ingredients. The full amounts are in the recipe card below.
- Semisweet dark chocolate or chocolate bark: Forms the base layer. Chocolate bark or couverture melts smoothly and sets with a clean snap.
- White chocolate bark: Creates the creamy top layer and a visual contrast against the dark chocolate.
- Vegetable oil or canola oil: Helps the melted chocolate spread more easily and gives a slightly softer set.
- Peppermint extract: Adds a clean mint flavor to both layers. It is divided between the dark and white chocolate.
- Peppermint candies or candy canes: Crushed and sprinkled between the layers and on top for crunch and festive color.
Equipment
- 9×9-inch pan: To hold the chocolate layers as they set into a firm slab.
- Heatproof bowl: To melt the chocolate gently over simmering water without direct heat.
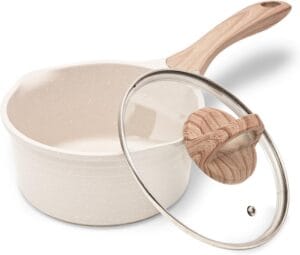
- Saucepan: To create a double boiler for the heatproof bowl.
- Spatula: To stir the melting chocolate and spread it evenly in the pan.
- Measuring spoons: To measure the oil and peppermint extract accurately.
- Rolling pin: To crush the peppermint candies into small, even pieces.
- Zip-top bag: To hold the candies while you crush them with the rolling pin.
- Chef’s knife: To break the chocolate into smaller pieces so it melts faster.
How to Make Homemade Peppermint Bark Candies
Step 1: Prepare the Pan and Ingredients
Line a 9×9-inch pan with parchment paper or foil, leaving some overhang on the sides for easy lifting later. Set it aside.
Break the dark chocolate and white chocolate into small pieces. Place the peppermint candies inside a zip-top bag and crush them with a rolling pin until you have small, irregular pieces.
Step 2: Melt the Dark Chocolate
Fill a saucepan with about an inch of water and bring it to a gentle simmer. Place a heatproof bowl over the saucepan, making sure the bottom of the bowl does not touch the water.
Add the dark chocolate, 1 teaspoon of the vegetable oil, and half of the peppermint extract to the bowl. Stir constantly until the chocolate is fully melted and smooth. Remove the bowl from the heat.
Step 3: Add the First Peppermint Layer
Pour the melted dark chocolate into the prepared pan and spread it into an even layer with a spatula. Sprinkle a handful of the crushed peppermint candies evenly over the dark chocolate.
Let the pan sit at room temperature or in the refrigerator until the dark chocolate is firm to the touch.
Step 4: Melt the White Chocolate
Wipe the heatproof bowl clean and dry it completely. Return it to the saucepan over gently simmering water.
Add the white chocolate, the remaining 1 teaspoon of vegetable oil, and the rest of the peppermint extract. Stir constantly until the white chocolate is melted and smooth. Remove from the heat.
Step 5: Finish and Set the Bark
Pour the melted white chocolate over the firm dark chocolate layer. Spread it gently into an even layer. Sprinkle the remaining crushed peppermint candies on top.
Let the bark cool completely at room temperature, or place it in the refrigerator until the white chocolate is set and firm.
Step 6: Break and Store
Once the bark is completely cool and firm, lift it out of the pan using the parchment overhang. Break it into irregular chunks with your hands or a knife.
Store the pieces in an airtight container in a cool, dry place.
Cooking Tips
- Keep the heat low when melting chocolate. High heat or steam can cause chocolate to seize or become grainy. Stir constantly and be patient. If you want to learn more about gentle melting and tempering, Le Cordon Bleu has a helpful guide to tempering chocolate that explains the ideal temperature ranges.
- Make sure the bowl and spatula are completely dry before melting the chocolate. Even a small amount of water can make melted chocolate clump.
- If the white chocolate starts to thicken too much while you are spreading it, stop spreading and let it settle for a minute. Overworking it can dull the surface.
How to Serve
Peppermint bark is delicious on its own as a sweet snack. Arrange the pieces on a holiday cookie tray or package them in small bags or tins for gifts. It also works well crumbled over vanilla ice cream or stirred into hot cocoa.
If you enjoy homemade candy, you might also like our Smooth Caramel Candies Recipe for another easy giftable treat. For a chocolate-and-fruit option, try our Chocolate covered Cherries or mint. And if you want another crunchy chocolate snack, our Homemade Milk Chocolate Rice Crispy Treats are a fun one to make with kids.
Frequently Asked Questions
Can I use chocolate chips instead of chocolate bark?
Yes, you can use chocolate chips, but they often contain stabilizers that make them set firmer and melt less smoothly. Chocolate bark or couverture chocolate gives a cleaner, more professional result.
How should I store peppermint bark?
Store it in an airtight container in a cool, dry place, away from direct sunlight. It will keep for about two weeks. If your kitchen is warm, you can refrigerate it, but bring it to room temperature before serving for the best texture.
Final Thoughts
Homemade peppermint bark is a simple candy that delivers a lot: crisp chocolate layers, a cool minty note, and plenty of crunchy peppermint pieces. Once you get the gentle melting technique down, you can make it whenever you need a quick holiday treat or a homemade gift. Give it a try and break off a piece while it is still fresh.
Homemade Peppermint Bark Candies Recipe
24
servings15
minutes10
minutes138
kcal25
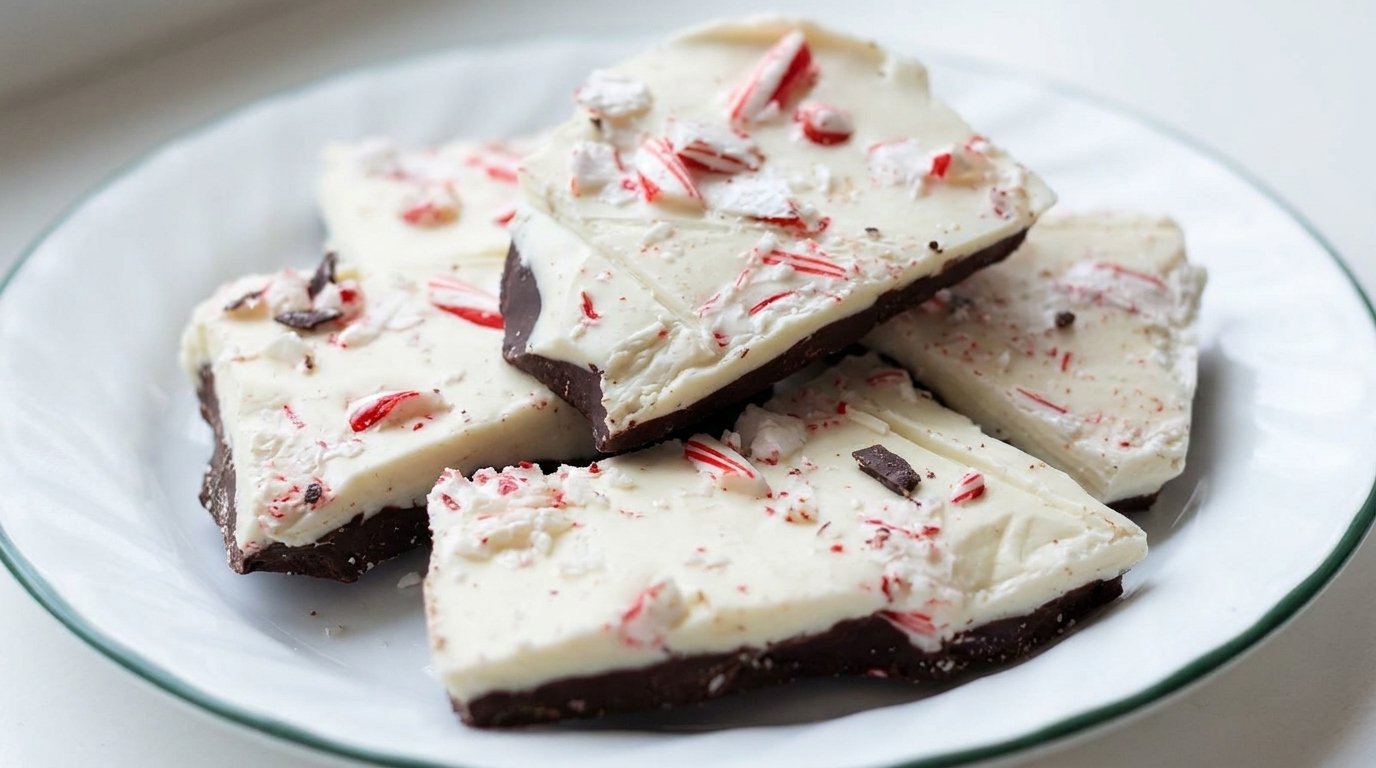
minutesThis homemade peppermint bark comes together with just five ingredients and a 9×9-inch pan. It is a festive, giftable treat with a dark chocolate base, a creamy white chocolate top, and crunchy peppermint pieces throughout.
Ingredients
8 oz semisweet dark chocolate or chocolate bark
2 tablespoons vegetable oil or canola oil
1/2 tablespoon peppermint extract, divided
8 oz white chocolate bark
24 peppermint candies, crushed (or candy canes)
Directions
- Line a 9×9-inch pan with parchment paper or foil and set aside. Break the dark and white chocolate into small pieces. Crush the peppermint candies in a zip-top bag with a rolling pin.
- Melt the dark chocolate with 1 teaspoon of oil and half of the peppermint extract in a heatproof bowl over gently simmering water, stirring until smooth.
- Pour the dark chocolate into the pan and spread evenly. Sprinkle with some crushed peppermint candies. Let it cool and firm.
- Melt the white chocolate with the remaining 1 teaspoon of oil and the rest of the peppermint extract in the same way.
- Pour the white chocolate over the firm dark chocolate layer and spread gently. Sprinkle the remaining crushed peppermint candies on top. Let it cool completely.
- Once firm, lift the bark out of the pan and break it into smaller chunks. Store in an airtight container.
Equipment
 Baking dishCheck product details

 Measuring Spoons & CupsCheck product details
 Mortar and Pestle SetCheck product details
 Small potCheck product details
 SpatulaCheck product details





Recipe Video
Nutrition Facts
- Serving Size: 2 g
- Total number of serves: 24
- Calories: 138kcal
- Fat: 8.2g
- Saturated Fat: 4.3g
- Cholesterol: 2mg
- Sodium: 10mg
- Potassium: 95mg
- Carbohydrates: 14.7g
- Net Carbs: 13.6g
- Fiber: 1.1g
- Sugar: 11.3g
- Protein: 1.3g
- Calcium: 26mg
- Iron: 1mg
- Vitamin E: 0.2mg
- Vitamin K: 3.6mcg
- Vitamin B12: 0.1mcg
- Phosphorus: 46mg
- Magnesium: 23mg
- Selenium: 1.1mcg
- Copper: 0.2mg
- Manganese: 0.2mg
Did you make this recipe?
Tag @cambodiarecipe on Instagram and hashtag it
Like this recipe?
Follow us @cambodiarecipe on Pinterest
Did you make this recipe?
Follow us on Facebook