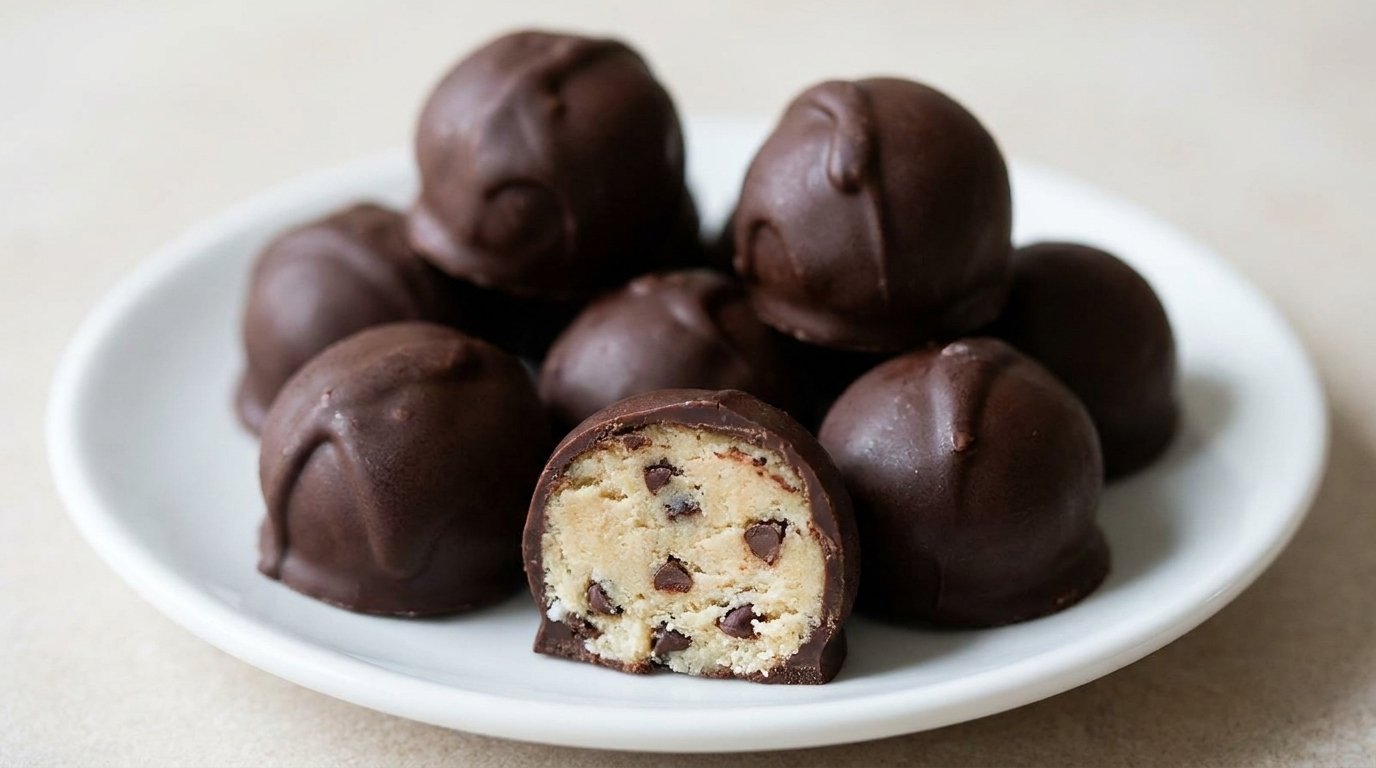
Chocolate Cookie Dough Candies Recipe

These chocolate cookie dough candies taste like the best part of cookie dough — soft, buttery, and studded with tiny chocolate chips — but they are rolled into bite-size balls and dipped in dark chocolate. No oven is needed, and the dough comes together in one bowl.
The magic is in the contrast: a creamy, sweet center wrapped in a thin, crisp chocolate shell. They are the kind of treat that looks impressive on a holiday tray but takes very little effort to put together. Keep a batch in the fridge for when a sweet craving hits.
What You Need
The dough uses simple pantry ingredients: softened butter, brown sugar, flour, vanilla, and a full can of condensed milk. Miniature chocolate chips go into the dough, and dark chocolate bark is melted for the coating. The full amounts are in the recipe card below.
Equipment
- Mixing bowl: To combine the butter, sugar, condensed milk, and dry ingredients into a smooth dough.
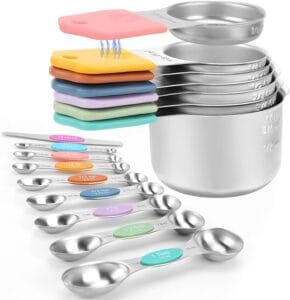
- Measuring cups and spoons: To measure the butter, brown sugar, flour, condensed milk, and vanilla accurately.
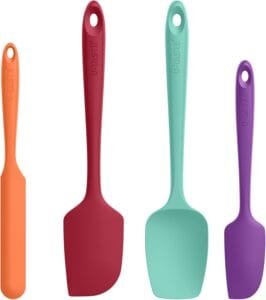
- Wooden spoon or spatula: To stir the thick dough and fold in the mini chocolate chips.
- Baking tray: To hold the rolled dough balls while they chill in the fridge.
- Wax paper: To line the tray and prevent the dough balls from sticking before and after dipping.
- Small heatproof bowl: To melt the dark chocolate over a double boiler.
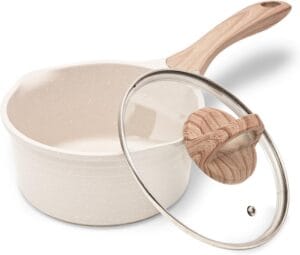
- Saucepan: To create the double boiler for gentle chocolate melting.
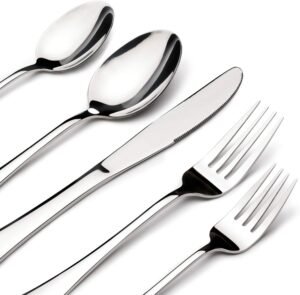
- Fork or dipping tool: To lower each chilled dough ball into the melted chocolate and lift it out with an even coat.
- Measuring spoon (1 tablespoon): To scoop the dough into evenly sized balls so they chill and dip at the same rate.
How to Make Chocolate Cookie Dough Candies
Step 1: Mix the Cookie Dough
In a large mixing bowl, combine the softened butter, packed brown sugar, flour, vanilla extract, and condensed milk. Stir everything together until the mixture is smooth and no dry flour remains. Fold in the miniature chocolate chips until they are evenly distributed.
Step 2: Chill the Dough
Cover the bowl and place it in the fridge for 1 hour. This firms up the dough so it is easier to roll and holds its shape.
Step 3: Roll the Dough Balls
Scoop the chilled dough with a 1-tablespoon measuring spoon and roll it into small, even balls. Place the balls on a baking tray lined with wax paper. Return the tray to the fridge until the balls are firm enough to dip — usually about 30 minutes to 1 hour.
Step 4: Melt the Chocolate
Break the dark chocolate bark into pieces and place it in a heatproof bowl set over a saucepan of gently simmering water. Melt on low heat, stirring occasionally, until smooth. Turn off the heat but leave the bowl over the warm water so the chocolate stays fluid while you dip.
Step 5: Dip the Cookie Dough Balls
Lower one chilled dough ball into the melted chocolate using a fork. Turn it gently to coat all sides, then lift it out and let the excess chocolate drip back into the bowl. Place the coated ball on a wax-paper-lined tray. Repeat with the remaining dough balls.
Step 6: Set and Store
Let the coated candies cool at room temperature until the chocolate is fully set, or place the tray in the fridge for a few hours or overnight. Once the shells are hard, the candies are ready to wrap or store.
Cooking Tips
- Keep the dough cold. Work in small batches and return the tray to the fridge if the dough balls start to soften. Cold dough holds its shape in the warm chocolate.
- Melt chocolate gently. Low heat and steady stirring prevent the chocolate from seizing or turning grainy.
- Tap off the excess. A light tap on the side of the bowl after dipping gives a thinner, more even shell and avoids a chocolate puddle around the base.
How to Serve
Pile the finished candies in a small bowl or arrange them on a plate. They are rich, so two or three per person is plenty. They work well alongside coffee or tea, or as part of a mixed dessert platter with other no-bake treats like smooth caramel candies and homemade peppermint bark.
Recipe Notes
Because this recipe uses raw flour, it is important to handle the dough safely. The FDA advises that flour is a raw food and can carry bacteria such as Salmonella and E. coli, and cooking is the only way to kill those germs. This recipe is a no-bake candy, so the flour is not cooked. If you want to reduce the risk, you can spread the flour on a baking sheet and toast it in a 350°F (175°C) oven for about 5–7 minutes, until it reaches 165°F, before using it in the dough. Let it cool completely before mixing.
Store the finished candies in an airtight container in the fridge. They keep well for about 1–2 weeks. Let them sit at room temperature for a few minutes before eating so the center softens slightly.
Frequently Asked Questions
Can I use a different type of chocolate for the coating?
Yes. The recipe calls for dark chocolate bark or any semi-sweet chocolate. Milk chocolate will also work, but the shell will be sweeter and a little softer. Choose a chocolate you enjoy eating on its own.
Why did my chocolate coating crack or look dull?
Chocolate can crack or look dull if it was melted over heat that was too high, or if the dough balls were very cold when dipped. Melt the chocolate gently over low heat, and let the chilled dough balls sit at room temperature for just 2–3 minutes before dipping so the chocolate sets smoothly.
Can I make these candies ahead of time?
Yes. The dough can be mixed and chilled up to 2 days in advance. The finished dipped candies can be made 3–4 days ahead and kept in the fridge in an airtight container. They also freeze well for up to 2 months.
Final Thoughts
These chocolate cookie dough candies are a small-batch treat with a big payoff: a soft, cookie-dough center and a clean snap of dark chocolate in every bite. The dough takes minutes to mix, and the fridge does most of the work. Make a tray for a gathering, or keep a few hidden in the back of the fridge for yourself.
Chocolate Cookie Dough Candies Recipe
12
servings20
minutes2
hours386
kcal2
hours20
minutesA bite-size no-bake candy made from a sweet, buttery cookie dough base and coated in melted dark chocolate. The dough chills in the fridge, rolls into 1-tablespoon balls, and gets dipped for a crisp shell around a creamy center.
Ingredients
½ cup softened butter
¾ cup brown sugar, packed
2 cups flour
1 tablespoon vanilla extract
1 can condensed milk
1 cup miniature chocolate chips
Dark chocolate bark, for melting (any semi-sweet chocolate will do)
Directions
- Mix the softened butter, brown sugar, flour, vanilla, and condensed milk in a large bowl until smooth. Fold in the miniature chocolate chips.
- Cover the dough and chill in the fridge for 1 hour.
- Roll the chilled dough into small balls using a 1-tablespoon measuring spoon. Place on a wax-paper-lined tray and chill until firm.
- Melt the dark chocolate bark in a heatproof bowl over a saucepan of simmering water on low heat. Turn off the heat.
- Dip each chilled dough ball in the melted chocolate, coating evenly. Place on a wax-paper-lined tray.
- Let the chocolate set for a few hours or overnight before wrapping or storing.
Equipment
 Baking dishCheck product details
 Chef’s KnifeCheck product details
 Cutting boardCheck product details
 Measuring Spoons & CupsCheck product details
 Mixing BowlsCheck product details
 Silicone Spatula SetCheck product details
 Small potCheck product details
 Spoon and Folk SetCheck product details


Recipe Video
Recipe Notes
- Raw flour safety: follow FDA guidance and avoid eating raw dough. For a safer option, heat-treat the flour at 350°F (175°C) for 5–7 minutes until it reaches 165°F, then cool completely before mixing. Store candies in an airtight container in the fridge for 1–2 weeks.
Nutrition Facts
- Serving Size: 4 g
- Total number of serves: 12
- Calories: 386kcal
- Fat: 14.6g
- Saturated Fat: 9.1g
- Cholesterol: 34mg
- Sodium: 117mg
- Potassium: 173mg
- Carbohydrates: 58.3g
- Net Carbs: 57.2g
- Fiber: 1.1g
- Sugar: 41.2g
- Protein: 5.6g
- Vitamin A: 17.9mcg
- Vitamin C: 1mg
- Calcium: 129mg
- Iron: 1mg
- Vitamin E: 0.3mg
- Thiamin: 0.2mg
- Riboflavin: 0.2mg
- Niacin: 1.3mg
- Vitamin B12: 0.2mcg
- Folate: 42.2mcg
- Pantothenic Acid: 0.4mg
- Phosphorus: 111mg
- Magnesium: 16mg
- Zinc: 1mg
- Selenium: 12.3mcg
- Copper: 0.1mg
- Manganese: 0.2mg
Did you make this recipe?
Tag @cambodiarecipe on Instagram and hashtag it
Like this recipe?
Follow us @cambodiarecipe on Pinterest
Did you make this recipe?
Follow us on Facebook